
Hi everyone,
In this tutorial I'm going to teach you how to install JAVA JDK(13) in your windows 10 operating system (OS).
Installing Java JDK on windows is really easy, just follow the steps as follows:
Now see the Step by step installation process,
1. First of all you must check whether your windows 10 OS have JAVA JDK or not
Open your Command Prompt (CMD) (Go to start menu and just type CMD) and type the following code in the CMD it self.
java -versionor
javac -versionthe above both code should return something like
'java' is not recognized as an internal or external command, operable program or batch file.
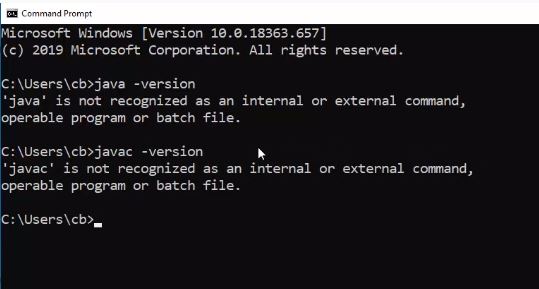
otherwise you may have Java in your system or it may be any other problem.
2. Open your favorite web browser and go to following web address
https://www.oracle.com/java/technologies/javase-jdk13-downloads.html (This link for only JDK 13, If you need any other version please select particular version from the web site and download it)
(Search in google 'Download Java JDK', Google will guide you to download the latest version of JDK)
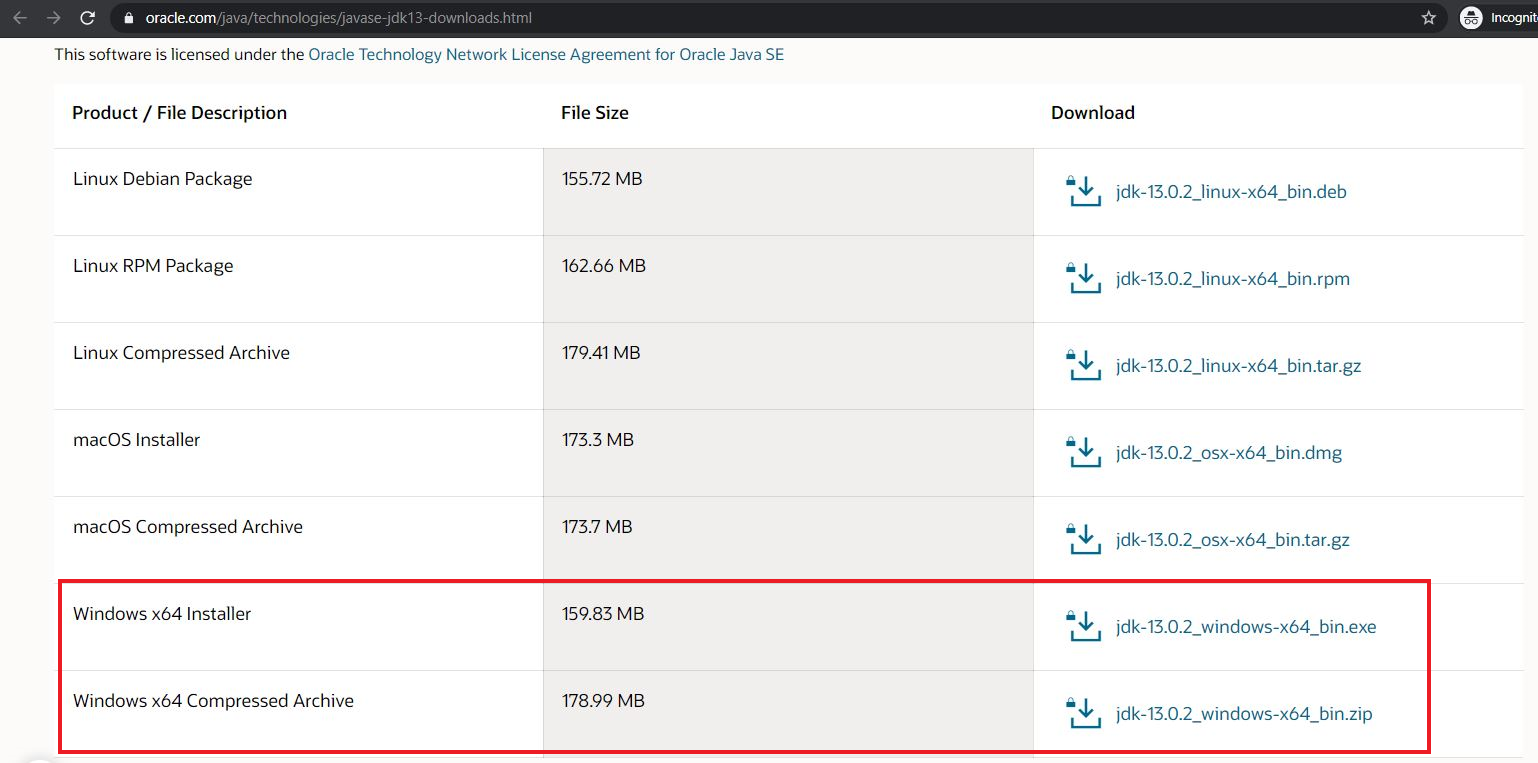
Select your preferred download method (Preferred is Windows x64 Installer) accept Oracle Licence agreement and Download it.
3. Then go to download location and run the .exe file that you have downloaded and follow the following steps carefully
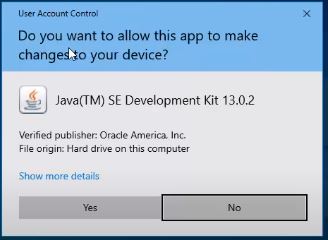
Select 'Yes'
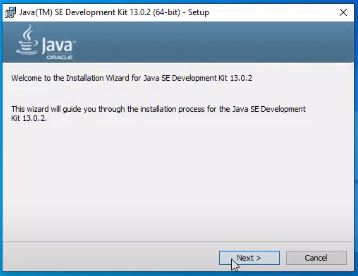
Select 'Next'
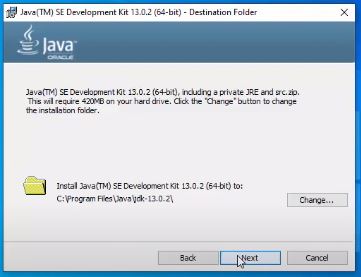
This is the place we are going to select where the JDK has to be installed, If you do not have any valid reason to change it keep it as it is. and click 'Next'
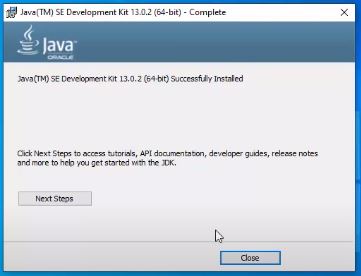
Click 'close', That's all we have installed Java JDK successfully.
Above all the important thing is setting the Environment variable
4. Set Environment variable
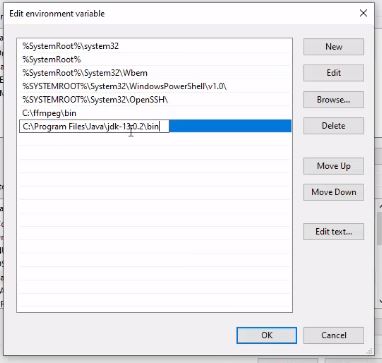
First go to the bin folder where you have installed the Java JDK. (It should similar to following: C:\Program Files\Java\jdk13.0.2\bin )
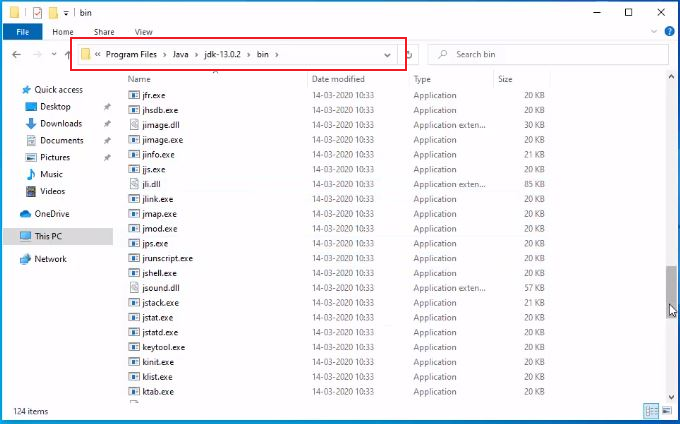
Copy the folder URL
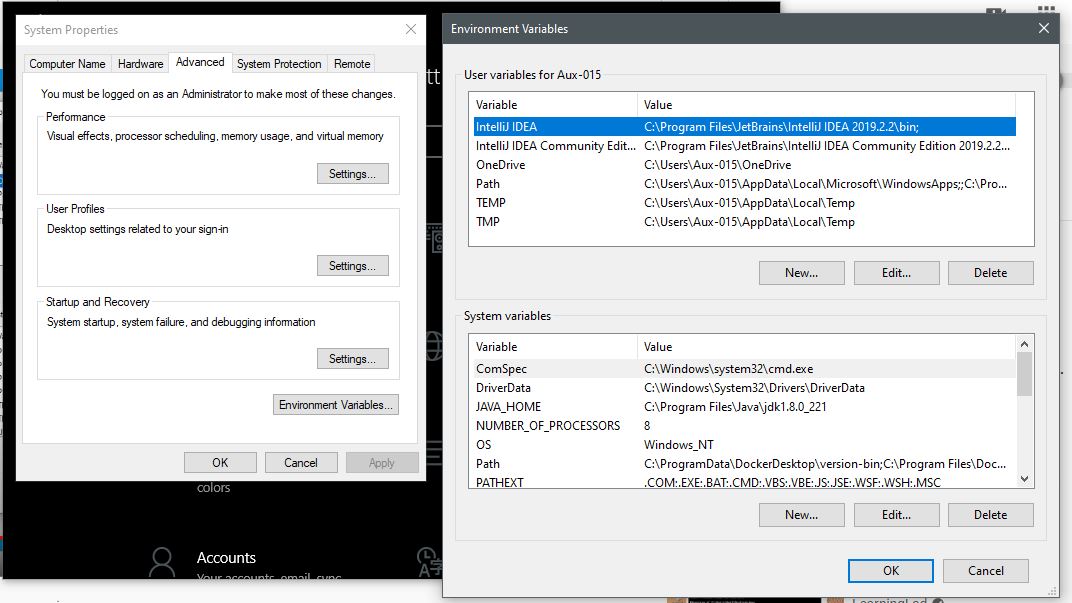
Go to start menu -> Select Settings -> Search for 'Environment' -> Select 'Edit the System environment variables'
And Next Click Environment variables in the System properties window, Then in the Environment variables Go to System variables -> select 'Path' -> Click 'Edit..'
5. Next we need to set JAVA_HOME (In order to develop java based applications)
Again go to Environment variable menu and in the System variable section click the 'New' button
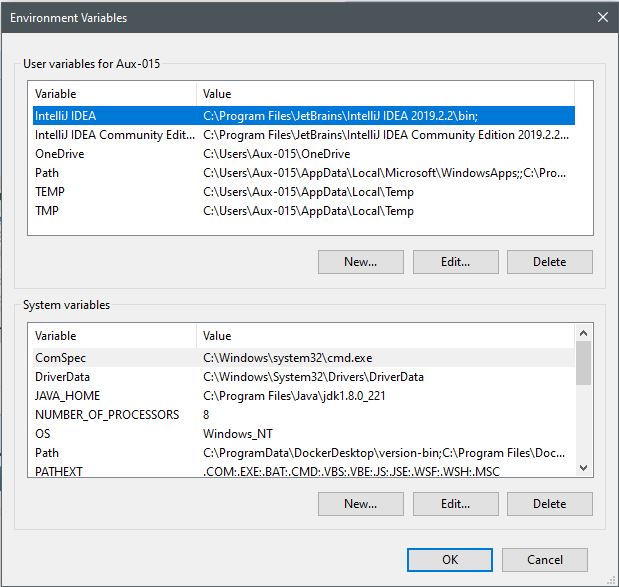
JAVA_HOMEand as Variable value type the previous folder URL without the bin folder (C:\Program Files\Java\jdk13.0.2)

6. Finally we make sure that the all work has done successfully
Type the following command in the Command prompt (CMD) to check the Java version
java -versionOther than that If you need to check the Java home path use the following command
echo %JAVA_HOME%
Hope it works fine..
Thank you :)


0 comments:
Post a Comment